Ghost Windows for Free with Macrium Reflect (A Visual Guide)
October 17, 2008 - Reading time: 18 minutes
A few years ago I wrote an article on Ghosting Windows XP for Free with DriveImage XML. It’s proven to be one of the most popular articles on TipsFor.us. Back in 2007 I also wrote a complementary article on Ghosting Windows for Free using Open-Source Tools. I suppose you could say that finding free ways to “ghost” Windows is an obsession of mine.
One bit of criticism levied at these aforementioned methods is that they both require a fair amount of upfront work. A restoration using DriveImage XML requires the creation of a boot disc such as BartPE. Using open-source tools like ntfsclone requires mucking around with the command line – an intimidating process for a newbie. Yes, I said “mucking.”
Isn’t there an easier way? One that requires far less prep time with an easy learning curve? The answer is a resounding YES!
Enter Macrium Reflect FREE Edition. While the free version is the little brother to the commercial version, it still packs a mighty punch.
Requirements
To successfully image and restore your system using Macrium Reflect, you will need the following:
- Windows XP or Vista (32 or 64-bit) – required to install the free version of Macrium Reflect, of course.
- CD or DVD burner – You need a place to store your backup image. Macrium allows you to burn it directly to CDs or DVDs.
- Spare Hard Disk or Partition (Optional) – Instead of storing the backup image on optical media, you may choose to simply store it on a spare partition or hard disk.
Before we begin, allow me to remind you to BACK UP YOUR DATA! Working with disk imaging is a volatile process, and you should always have backups of your critical files. Burn everything to CDs or DVDs. Buy a spare hard disk, or maybe take a look at available online storage. Do whatever it takes to keep your data safe.
Ready? Let’s get started!
The Process
Here’s an outline of the entire process:
- Install Macrium Reflect FREE Edition
- Configure Your System
- Create the Disk Image
- Verify the Disk Image
- Create the Rescue CD
- Restore the Disk Image
- Final Thoughts
1. Install Macrium Reflect FREE Edition
This is the easiest step. Download and install the executable. The installer will automatically detect whether you are running a 32-bit or a 64-bit operating system. Curiously, the installation process requires Internet access to validate the automatically generated serial number. After the installation is complete, launch Macrium Reflect.
2. Configure Your System
At this point you should configure your operating system to the way you like it. Here are a few suggestions:
- Make sure Windows has the latest security patches and drivers.
- Scan for viruses and other malware.
- Run a Defrag.
- Remove any unnecessary applications.
Ideally, I like to create a couple different disk images. I prefer to have one image of a freshly installed state, and another image that includes all my main applications.
3. Create the Disk Image
Now we’re getting to the fun part. One quick note here: I used VMware for the purpose of convenient screenshots, but the process is no different than if it were a real machine. I also tested the process on a spare computer, and it worked flawlessly for me.
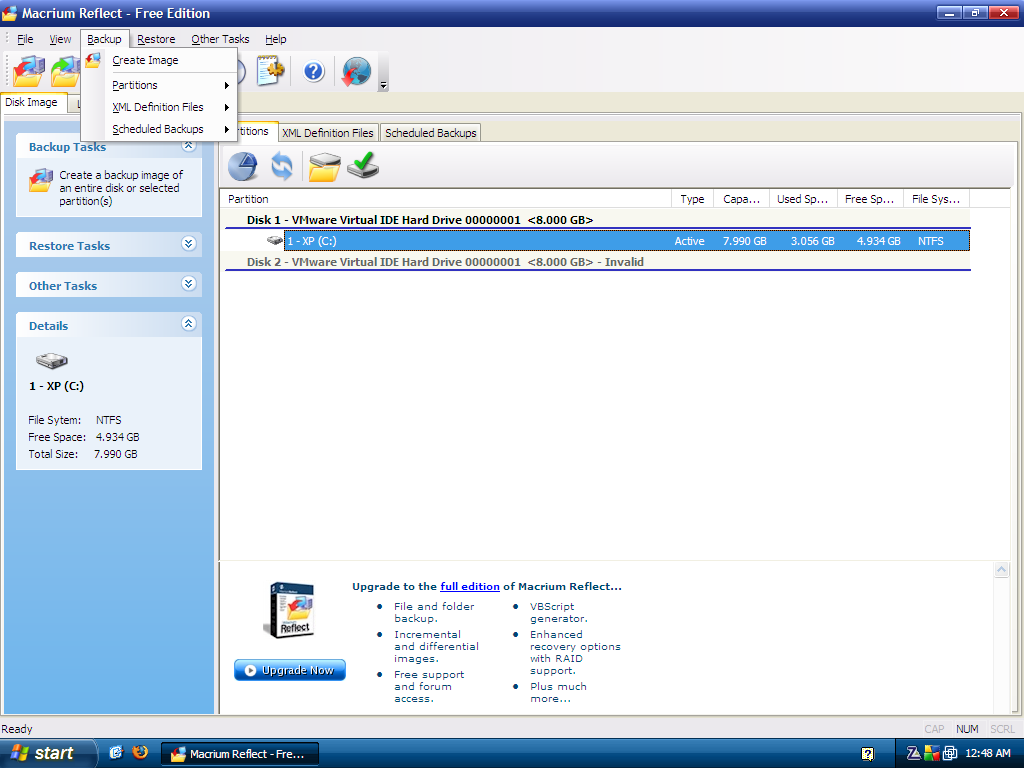
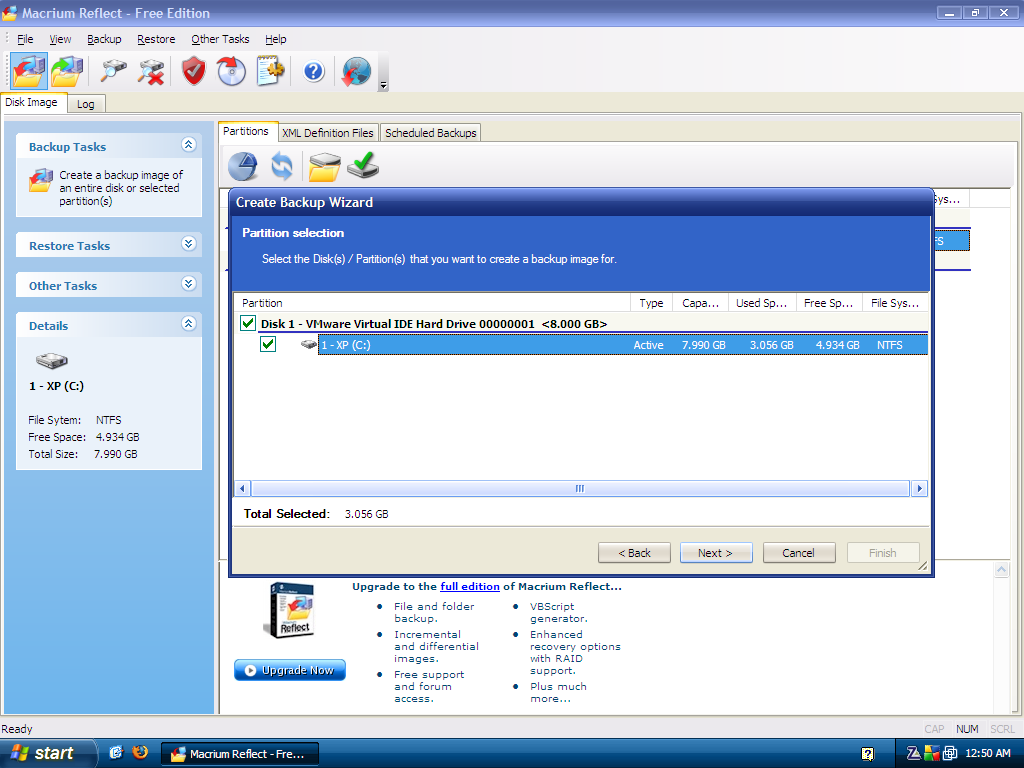
To get started, launch Macrium Reflect, select the disk that you wish to image, and from the Backup menu, choose Create Image.
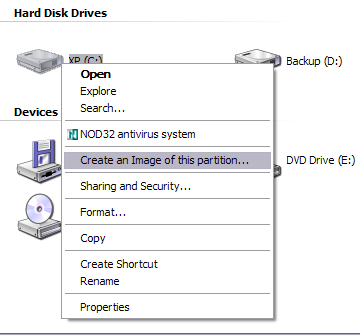
(Alternative – you could also open My Computer, right-click on the chosen disk, and select Create an Image of this partition…)
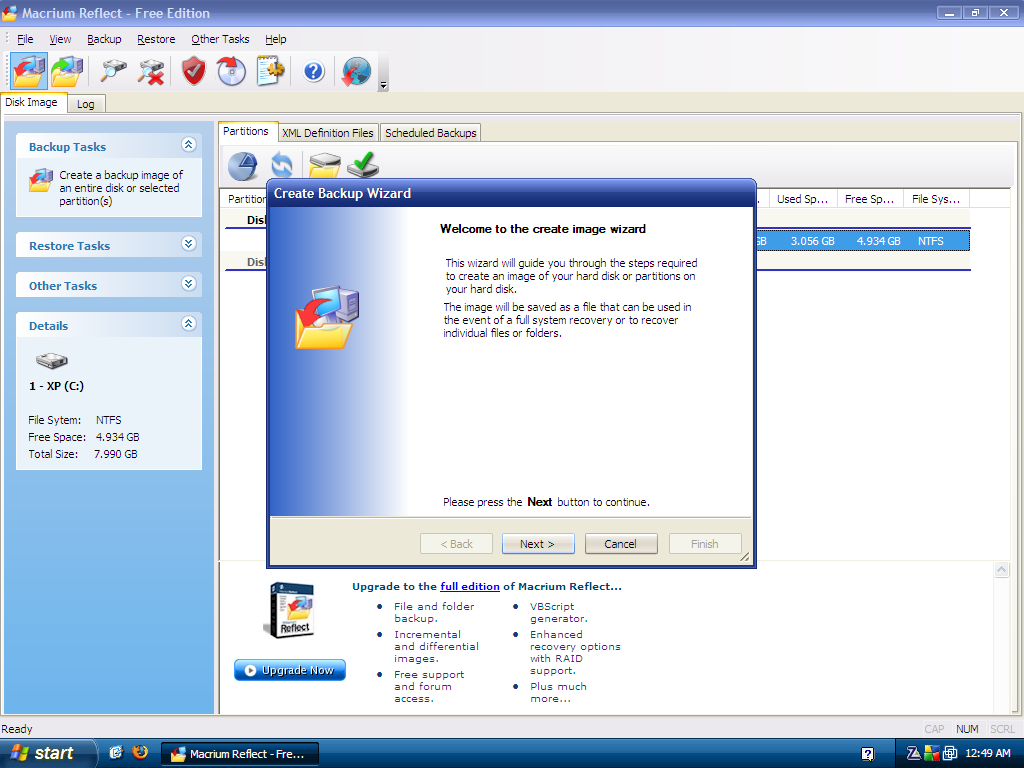
The Create Backup Wizard will spawn:
At this point you need to choose where you would like to store the disk image. Options include:
- On a spare partition or hard disk
- On a network share – Note: make sure your network share is using WORKGROUP as the Workgroup name.
- On blank CDs or DVDs
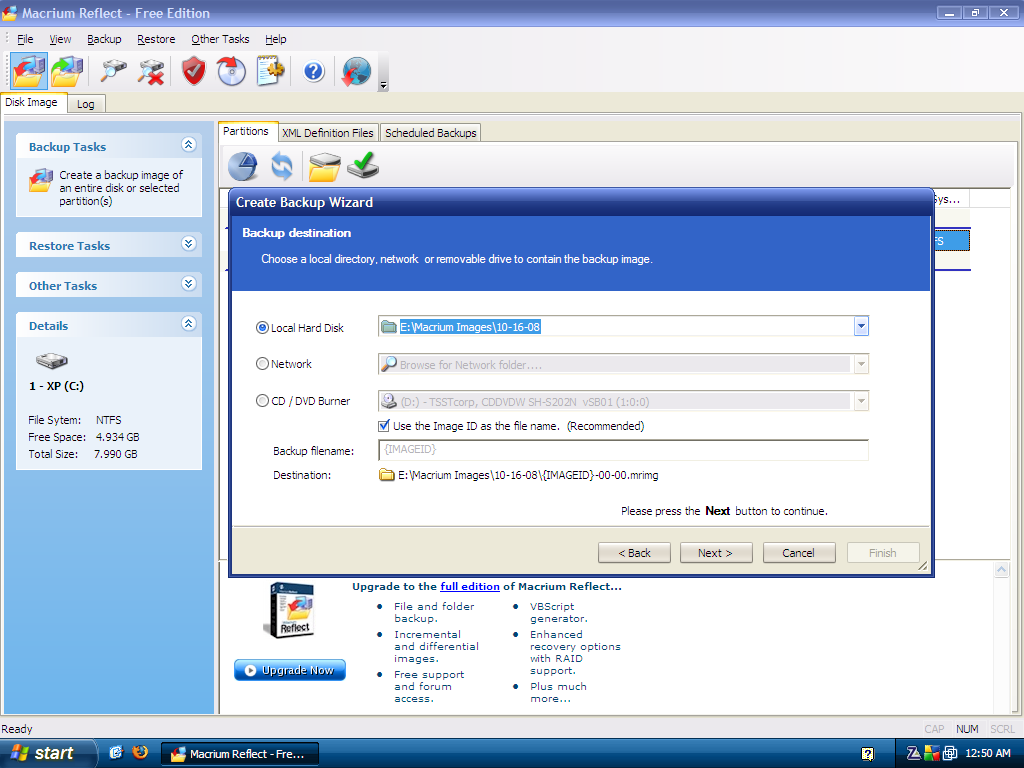
I suggest you also take a look at the Advanced Settings. Here you can choose the amount of compression and also set a maximum file size (for splitting purposes).
When you are done with the Backup Wizard, take a last glance over your settings….
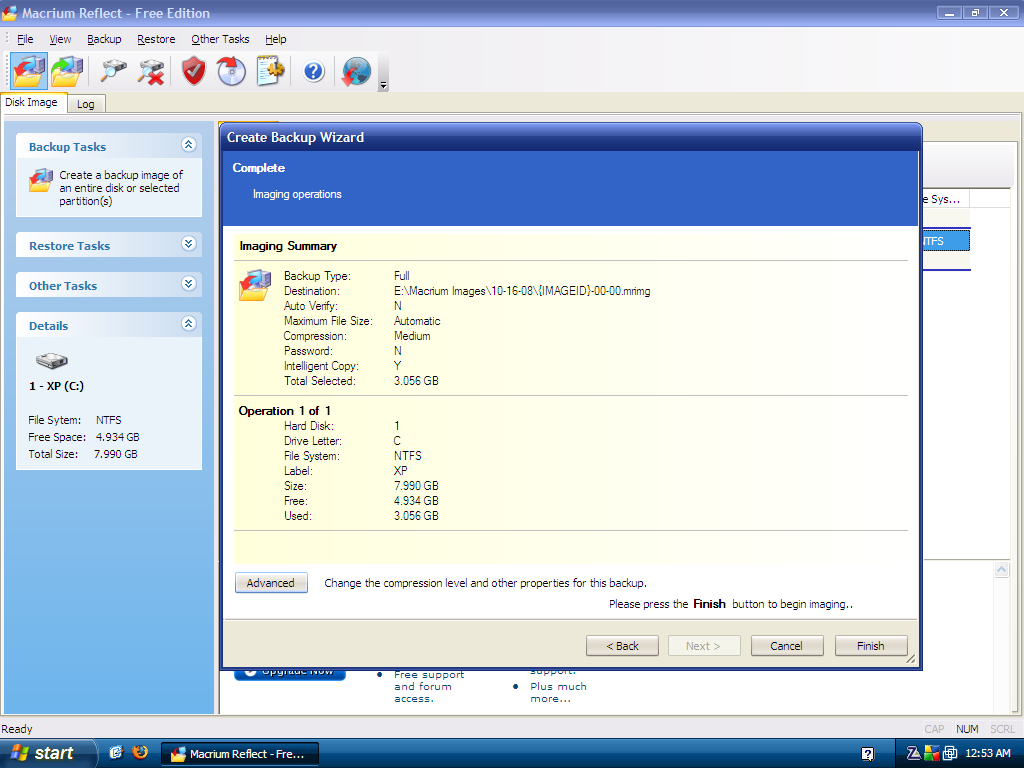
Enter a name for the backup definition, and away we go!
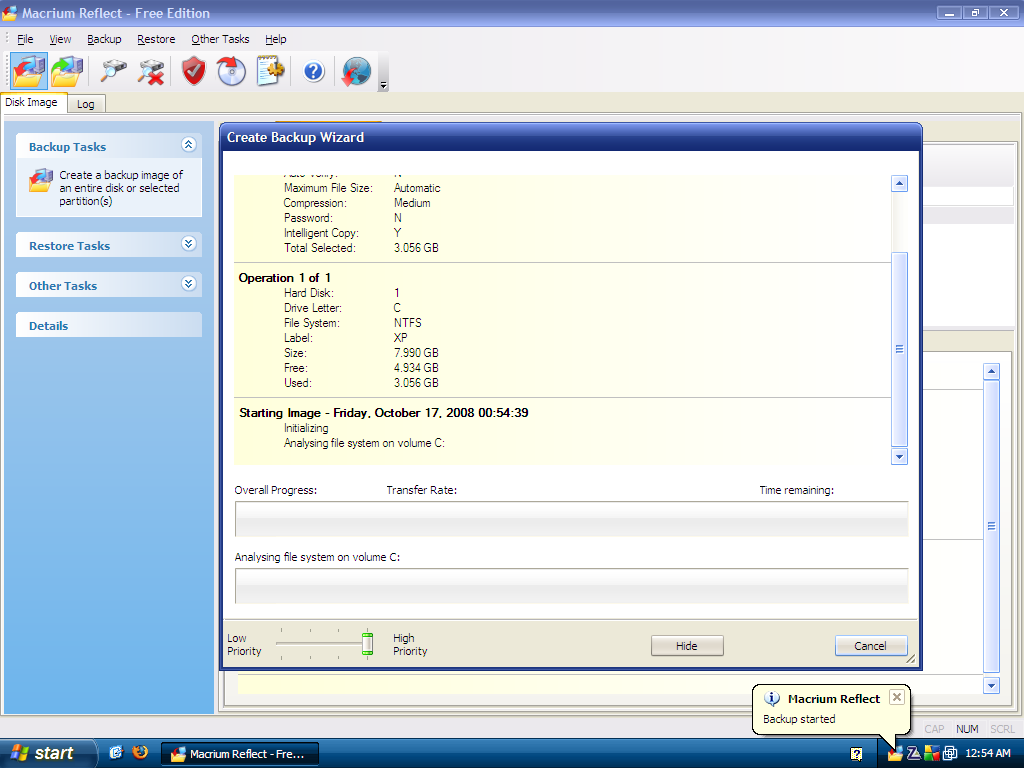
It took me only 3 minutes to image my tiny VMware disk, so your mileage will vary. Go make a cup of coffee.

Now that your backup is complete, let’s talk about how to restore it. Please continue to the next page.
4. Verify the Disk Image
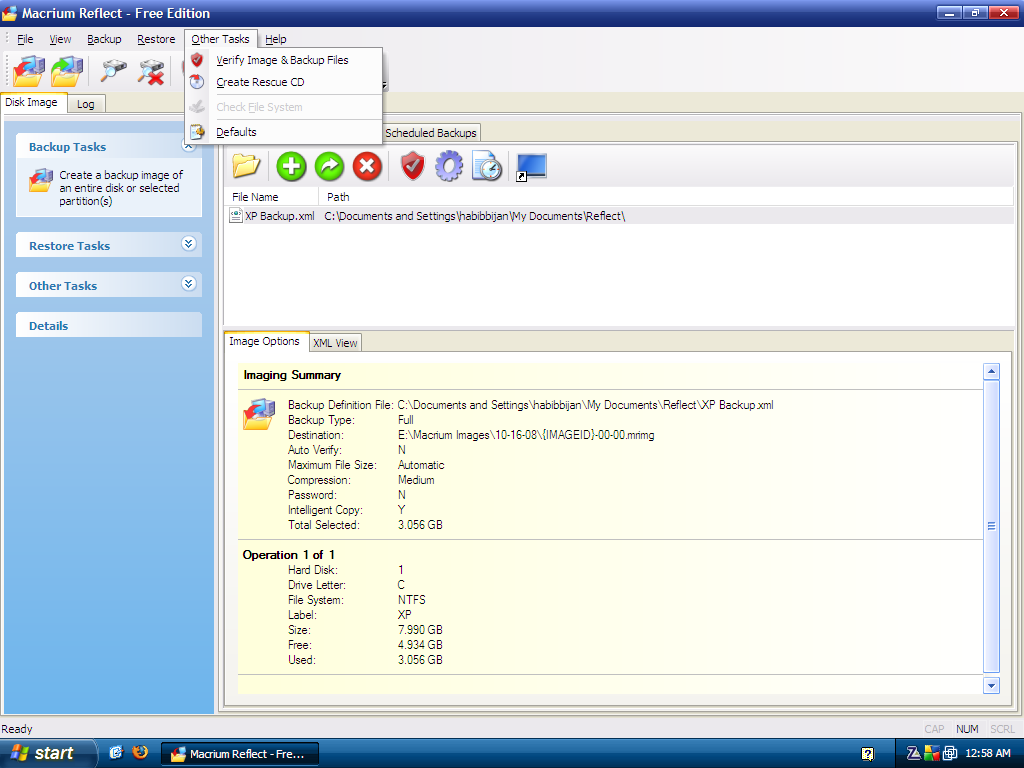
At this point, I suggest that you verify the integrity of your newly created image. Make sure that your image file name is selected in the main window, and from the Other Tasks Menu, choose Verify Image & Backup Files.
The Verify Image Wizard will spawn. Choose the location of your newly created image and start the verification process.
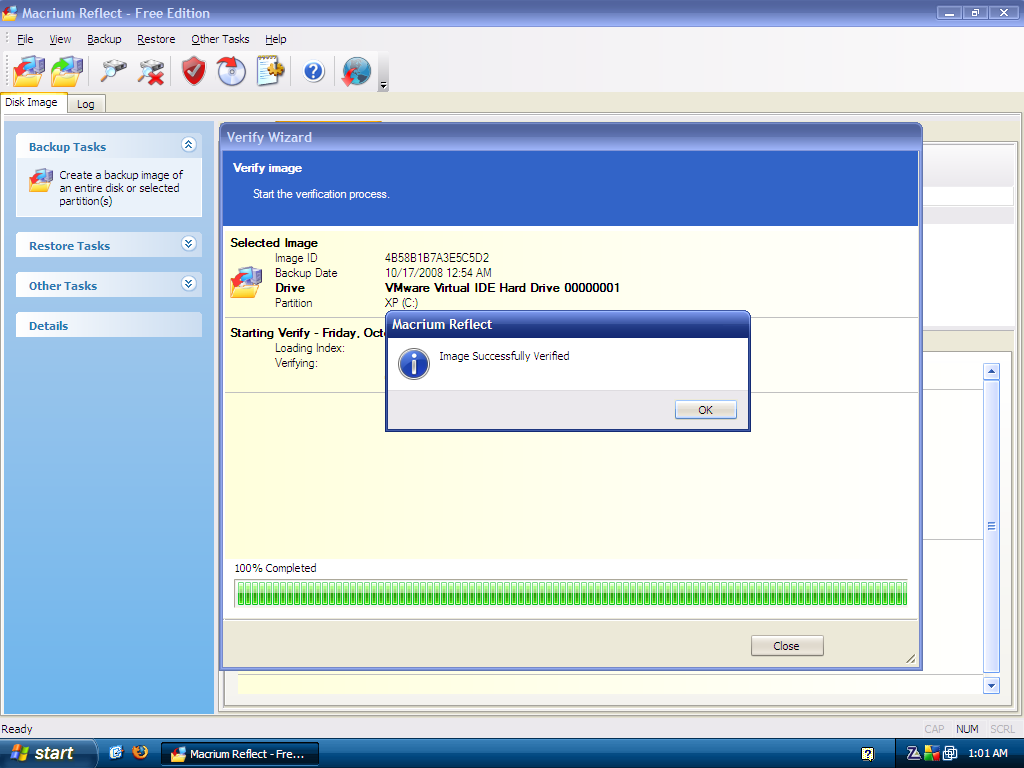
 Macrium - Verify Wizard
Again, this may take several minutes depending on the size of your image. Go make another cup of coffee. If all is well, the image should verify successfully.
5. Create the Rescue CD
The last thing to do before we restore the image is to create the Rescue CD. From the Other Tasks menu, choose Create Rescue CD. The Rescue CD Wizard will spawn.
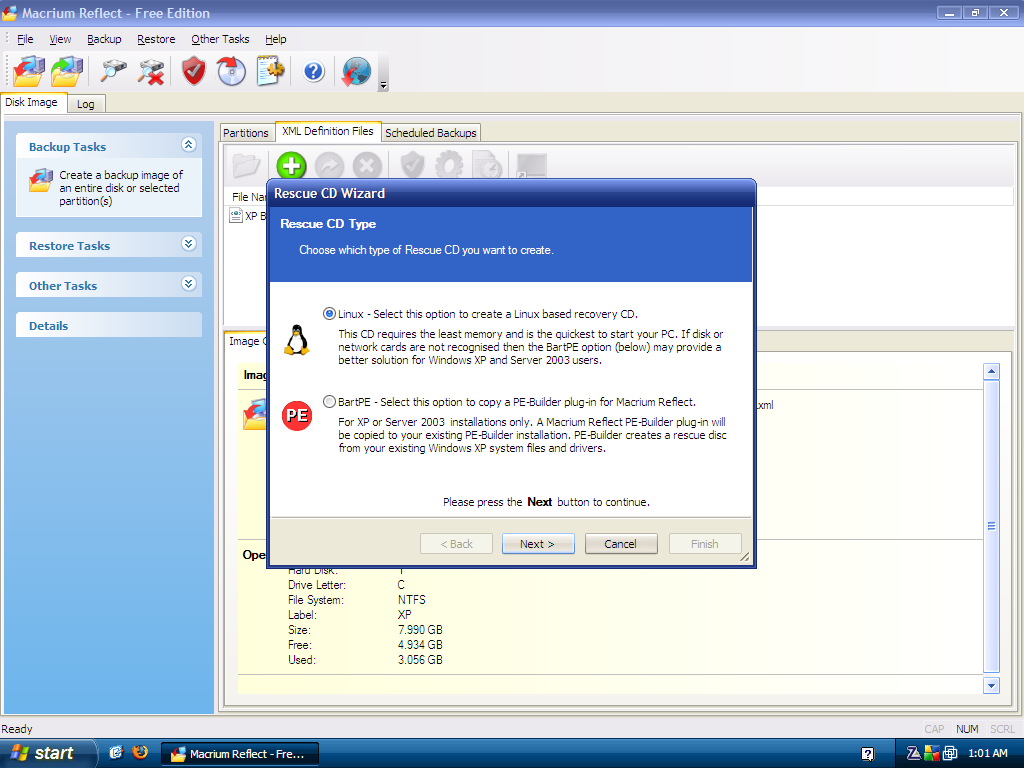
You have 2 choices in the Free Edition of Macrium Reflect:
- The Linux-based recovery disc.
- A plug-in for BartPE.
If you do not already have an installation of BartPE, the far-easier choice is to use the Linux-based CD. The Linux recovery CD essentially just runs the kernel and a basic GUI to help with the restoration process. All of this fits onto just over 6 MB! That’s six megabytes!
When creating the Rescue CD, you can choose to have Macrium Reflect burn it for you, or simply create an ISO image to burn with your favorite disc-burning program. I suggest the open-source InfraRecorder.
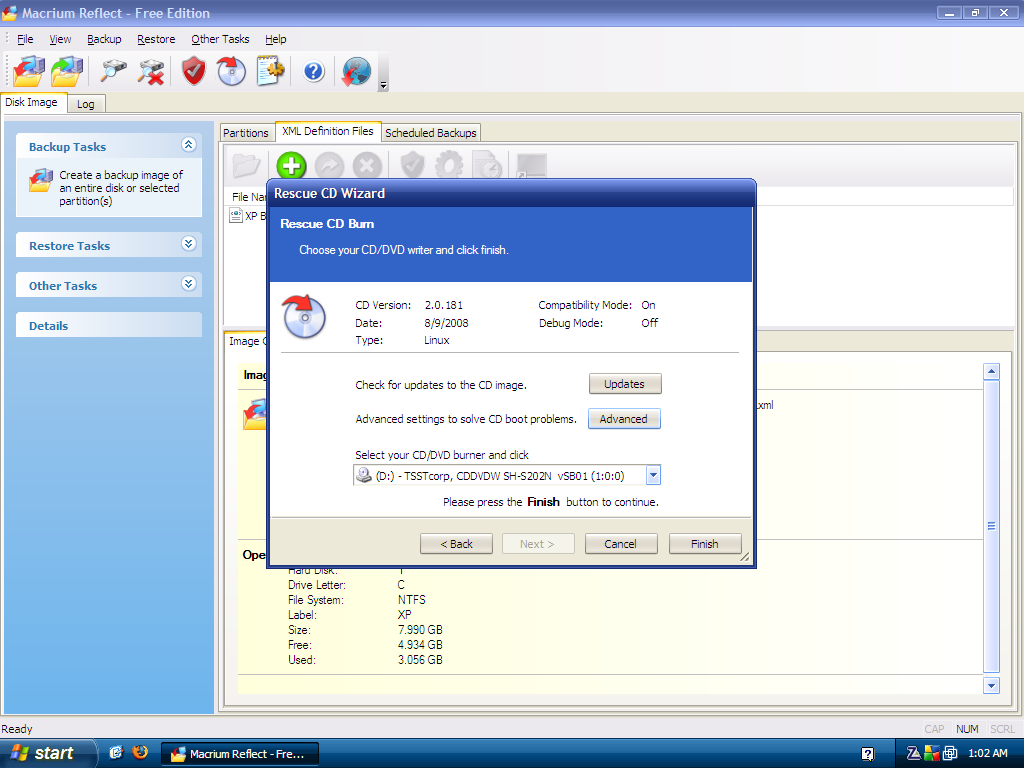
Note: I suggest going into the Advanced options and enabling Compatibility Mode, which will ensure booting on a wider variety of devices.
Burn your Rescue CD either through Macrium Reflect or as an ISO, and then let’s talk about restoring your image. Please continue to the next page.
6. Restore the Disk Image
No backup solution is complete until you KNOW that you can successfully restore your images. Until you know that you can restore your files, your new image isn’t worth a pitcher of warm spit. That’s right – spit.
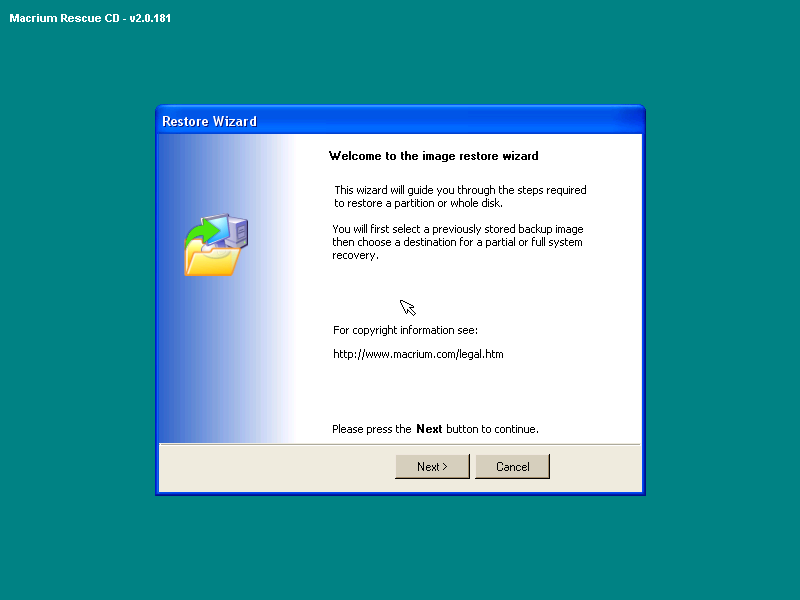
Make sure your motherboard bios is set to boot first from CD/DVD, and reboot your computer with the Linux Rescue CD in the drive. Within a few seconds, the Restore Wizard should start.
The CD/DVD should eject automatically, allowing you to place any other discs into the drive. Browse to the location of your disk image that you plan to restore. Note: if you are restoring from multiple CDs/DVDs, you must place the last disc in the drive first since the final part contains the image index.
.png)
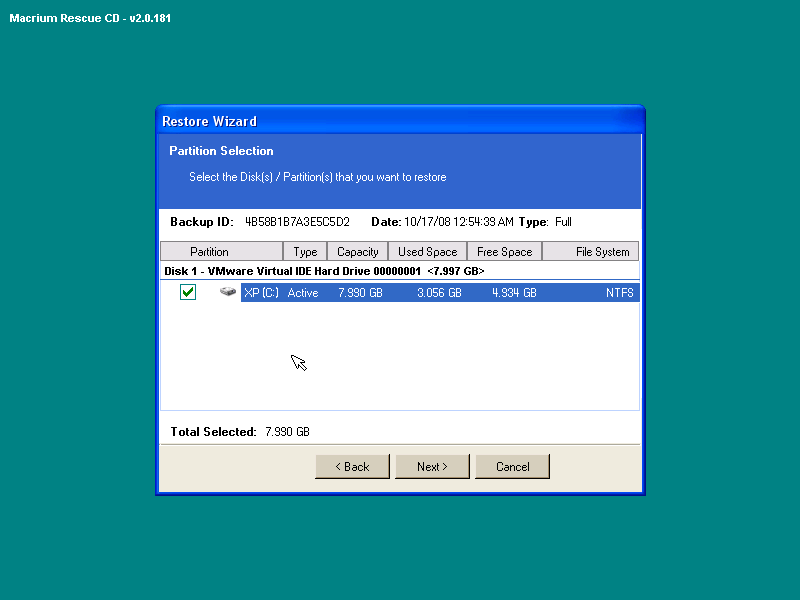
Once you have chosen the disk image, select the partition that you want to RESTORE:
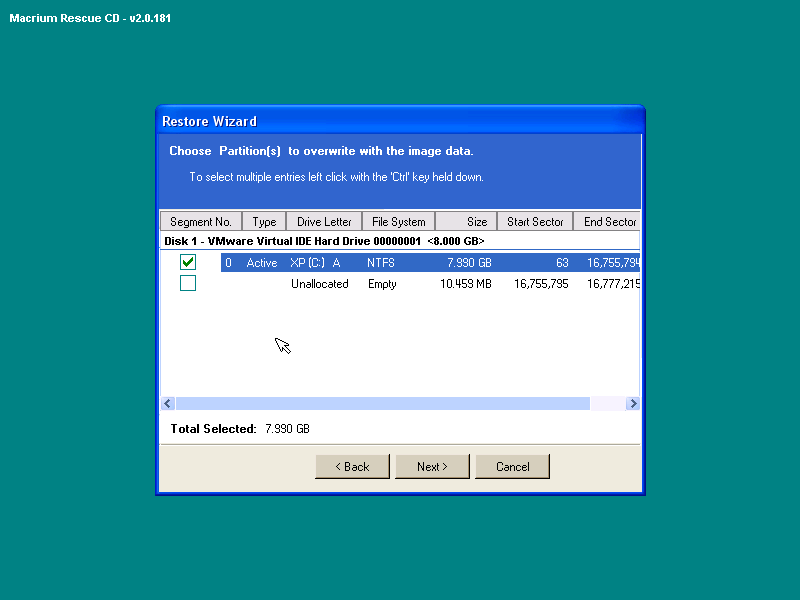
Next, choose the appropriate partition to OVERWRITE:
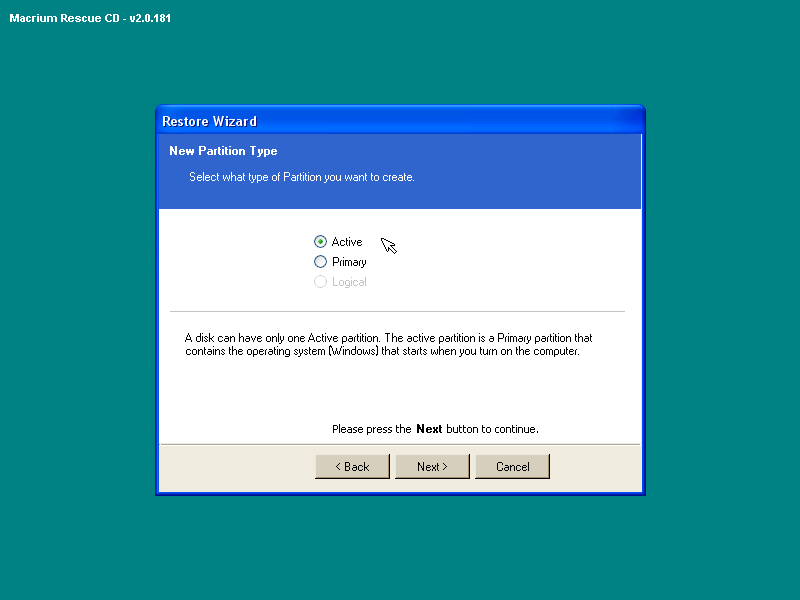
Select the partition type. If it is your primary boot partition, choose ACTIVE.
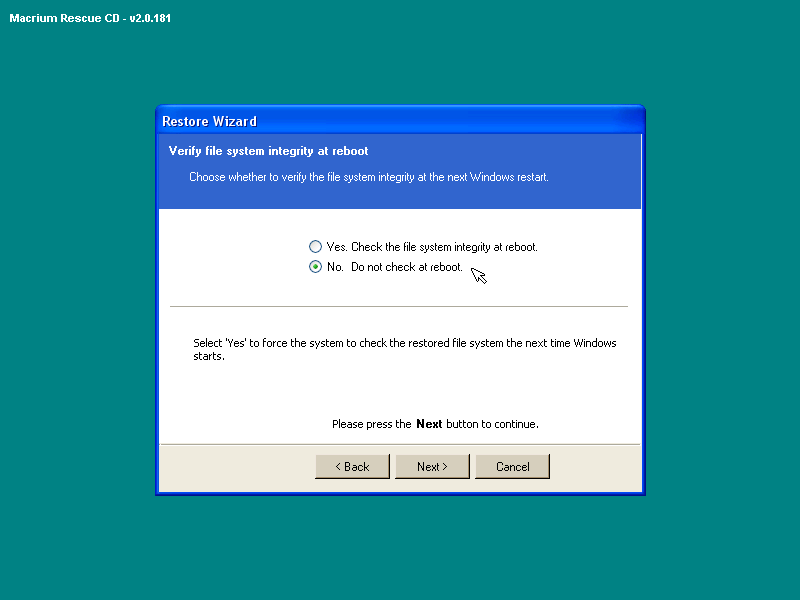
You can also choose whether or not to verify the image integrity, but you can safely skip this step if you did it previously.
We’re almost done. One of the last steps is to choose whether or not to overwrite the Master Boot Record (MBR). This contains a listing of the operating systems currently booting on your PC. Most of the time, you can choose to replace with the MBR that’s included in the backup image (the recommended option). If you’ve installed an additional OS since creating the image, don’t replace the MBR.
.png)
Take one final scrutinizing look over your restoration settings, and click Finish to begin the restore. Watch helplessly as all your files are erased… and hopefully restored with the files in your image!
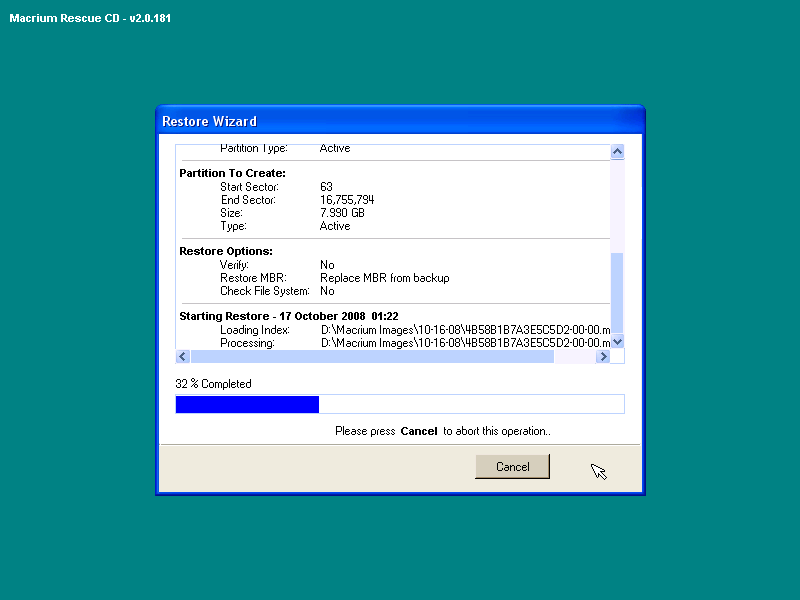
Once again, this process may take several minutes. Go grab that third cup of coffee!
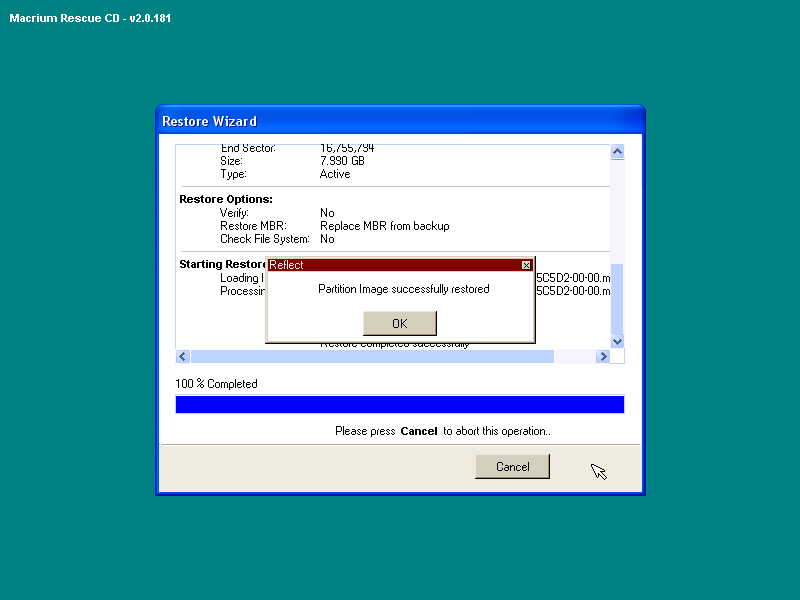
Hey, it looks like my image restored successfully. Yay! All that’s left is to reboot.
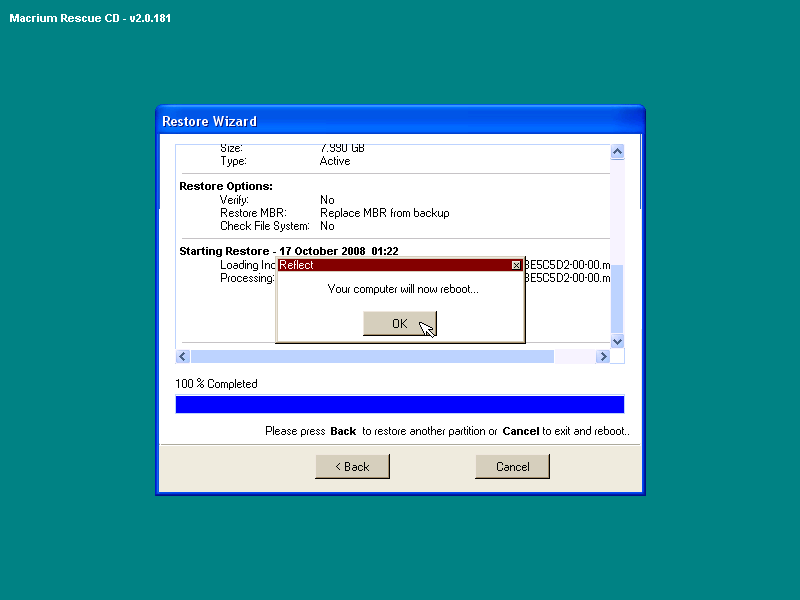
If your system comes back to life, congratulations! You now have a system image/restore solution for FREE. If you computer exploded or drank all the pomegranate juice in your refrigerator, I offer my condolences. Read over the instructions again, and better luck next time. You DID have all your data backed up, right?
7. Final Thoughts
I like Macrium Reflect a lot. It’s the simplest and fastest way that I’ve found so far to “ghost” Windows for free. As an ancillary benefit, it also supports EXT file systems, meaning that it can create images of dual-boot Linux installations (such as Ubuntu) from within Windows if you desire!
Though there are limitations to the FREE Edition of Macrium Reflect, it still offers quite a lot of value. Specifically, the commercial version offers features such as:
- Incremental and differential disk imaging
- Password protection and encryption
- Windows PE 2.0 Rescue CD with RAID support
- License for Business and Commercial usage.
If all you need is a simple way to create and restore disk images, the free edition works with aplomb. Highly recommended.
Good luck, and happy backups!
— Brian Bondari —
© 2008