Rip DVDs to Video Files Easily with FormatFactory (Windows)
November 17, 2008 - Reading time: 7 minutes
So, you want to rip DVDs to video files on Windows, but you’re not sure where to begin? While there are a ton of guides on the Internet on how to accomplish this task, most of them get complicated really quickly.
In this simple guide, I’m going to show you how to easily rip a DVD to a video file in as few steps as possible. Ready? Let’s get started.
Tools Required
- A DVD drive for your computer (obviously). If you bought your computer anytime after the year 2000, it probably has one.
- FormatFactory – FREE media converting software. This is what will do the ripping for us. Version as of this writing – 1.60.
- DVD43 – FREE decrypting software. Basically, DVD43’s job is to unlock a DVD so that FormatFactory can access it.
Step One – Unlock
First of all, install DVD43. It takes very few brain cells to run DVD43 – the program will sit quietly in your system tray, waiting patiently for a DVD to decrypt. By default the tray icon is yellow (and not so happy).

Once you insert an encrypted DVD, the program will automatically get to work on unlocking it. If successful, the not-so-happy face will turn green (and much more cheery).

Step Two – Start FormatFactory
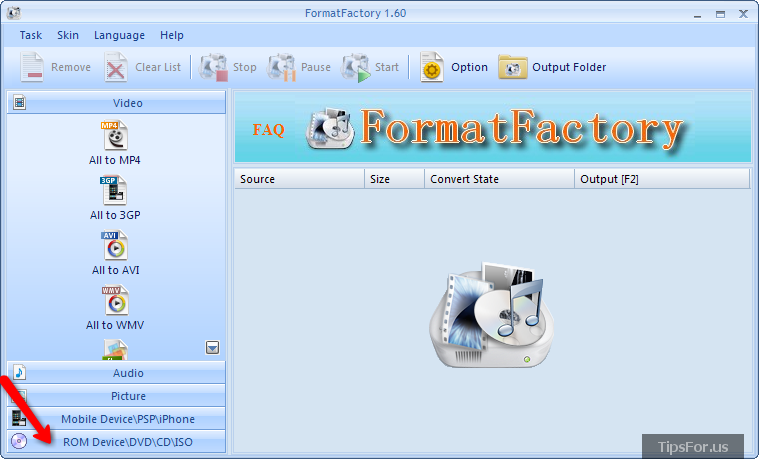
Next, install and launch FormatFactory. As the name implies, FormatFactory is an all-in-one utility for converting between media types. For our purposes, we’re going to look at the ROM Device\DVD\CD\ISO panel.
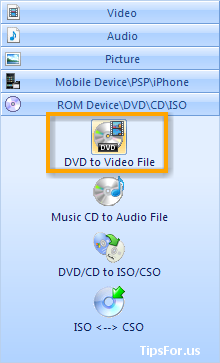
Under the ROM Device\DVD\CD\ISO panel, click on the DVD to Video File icon.
Step Three – Configure DVD Ripping Settings
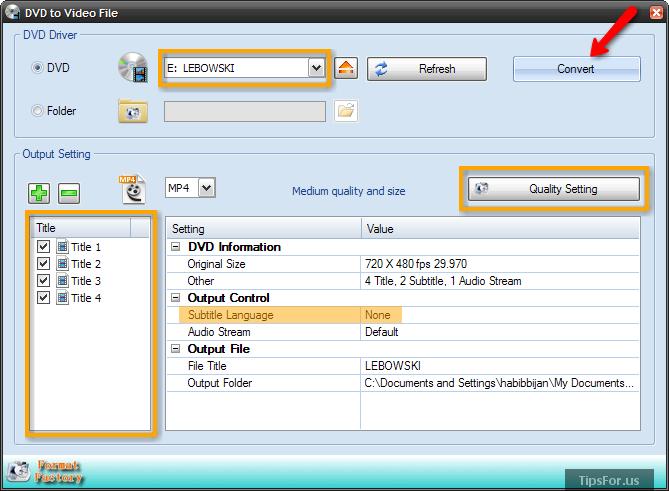
In the DVD to Video window that spawns, there are only a few things you need to do before starting the DVD rip. First of all, select your DVD from the drop-down list at the top. On the left, select the titles/chapters that you want to rip. The video that I’m going to rip is The Big Lebowski (cult classic).
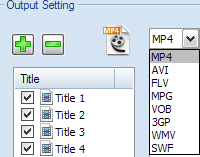
You can choose the format type for your video by clicking the drop-down list under the Output Setting area. The choices are: MP4, AVI, FLV, MPG, VOB, 3GP, WMV, and SWF.
Quality Settings
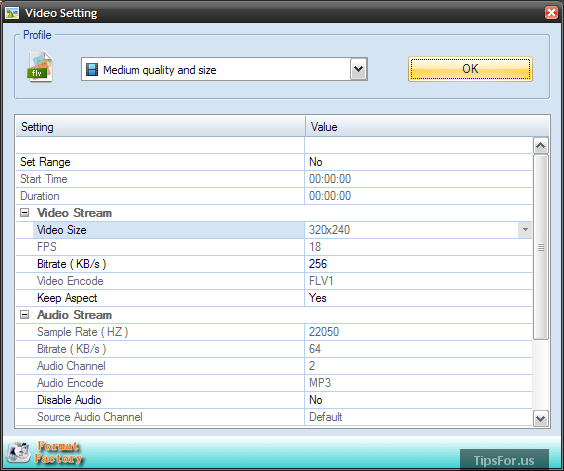
If you want to alter the video quality settings, click the Quality Setting button.
I recommend sticking with one of the built-in profiles, such as Medium Quality. Of course, you could always choose a Custom profile and alter settings manually.
Subtitles
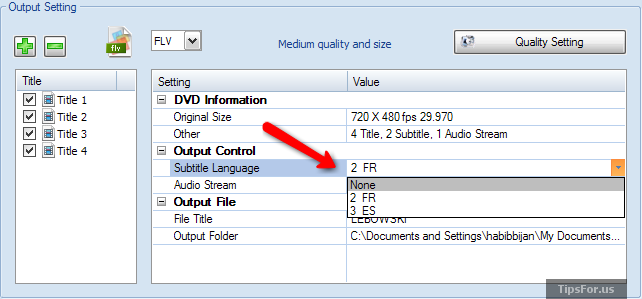
One of the last steps is to select whether or not you want subtitles included in your video. Under the Output Control area, take a look at the drop-down list next to Subtitle Language.
Select a subtitle language for your video, or just choose None.
You’re almost done. All that’s left is to choose a filename for your video and a location to save it. Under the Output File section, type a name for your video and select an output folder.
When you’re finished, hit the Convert button at the top.
Step Four – Let It Rip
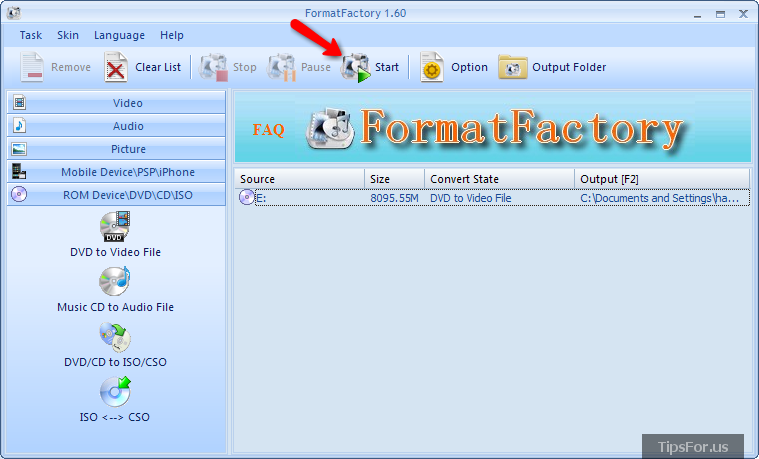
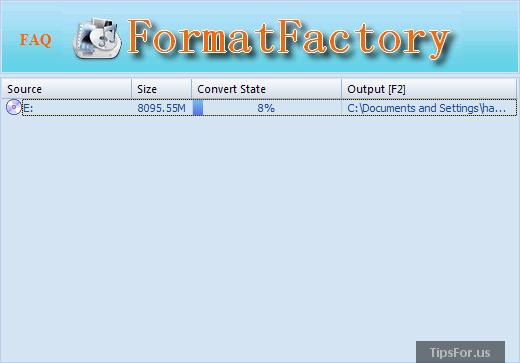
After you hit Convert, FormatFactory will return to the main window and you will see your job lined up in the queue. The final step is to simply hit the Start button to begin processing.
Depending on the speed of your computer and the length of the DVD, the ripping process will likely take hours. Go outside and run around, or maybe do your DVD rips overnight.
That’s it. You’re done. Eject the DVD, and enjoy your new video.
