Get POP Access in Thunderbird to Yahoo, Hotmail, and AOL e-mail for Free with WebMail
September 1, 2008 - Reading time: 9 minutes
![]() UPDATE: Looks like the WebMail extension is now dead.
UPDATE: Looks like the WebMail extension is now dead.
Still have a Yahoo! or Hotmail e-mail account? Yeah, so do I. However, my primary e-mail account is through Gmail, and I also tend to use Thunderbird to manage my massive pile of e-mail. I love the ability to access Gmail through Thunderbird, and would like an easy way to do the same thing with my Yahoo! mail.
Of course, one could always pay for a Yahoo! Mail Plus account ($20 a year) to get POP access, but as self-proclaimed “ruler of the free world”, I’d prefer a free solution.
One answer is to use WebMail, an open-source extension that allows Mozilla Thunderbird to interface with Yahoo!, Hotmail, Lycos, Mail.com, Libero, and AOL mail. I should mention that it also includes Gmail, but since Gmail already provides free IMAP access, WebMail’s implementation is not necessary. Anyway, on to business!
This tutorial will cover installation and setup of Yahoo! Mail within Thunderbird.
Install WebMail Extensions
First things first, make sure you have Thunderbird running. Next, download the WebMail extension. Note: be sure to right-click and save the XPI file locally. Do NOT try to install it as an add-on for Firefox! From within Thunderbird, go to the Tools menu, then select Add-ons.
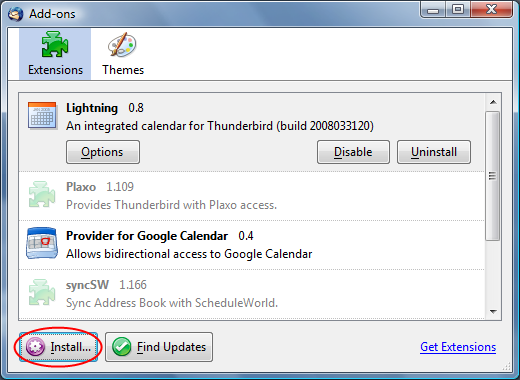
Click the Install button in the lower-left corner and navigate to the WebMail XPI file that you downloaded. As with the installation of all extensions, be sure to relaunch Thunderbird.
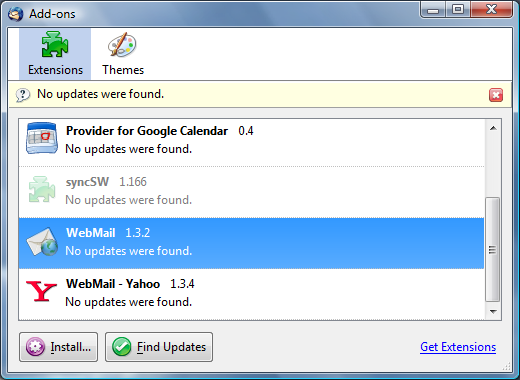
Next, go back to the WebMail site and choose a provider component to install. In my case, I selected the Yahoo! component. Whichever component you choose, install it the same way you did for the WebMail extension. Again, be sure to download the XPI to disk first.
When finished, you should have extensions installed for both WebMail and the component(s) of your choice.
Setup a New Account in Thunderbird
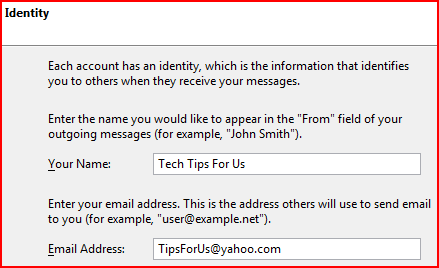
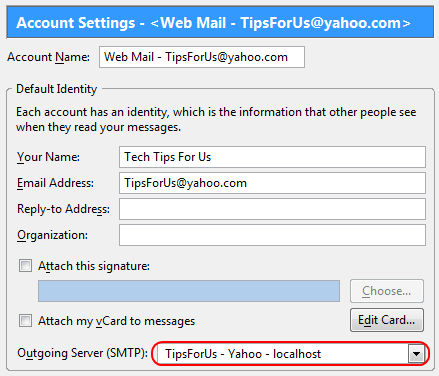
In Thunderbid, go to Tools -> Account Settings, and then click the Add Account button on the left side. Choose Web Mail as the account type, and then enter your Name and E-mail address accordingly.
On the User Names page, be sure to include your full e-mail address. Don’t worry about the outgoing SMTP setup just yet.
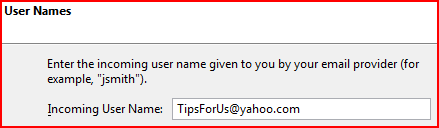
Click Next/Finish until you are back to the Account Settings window.
Configure Outgoing Mail
If you already have an outgoing mail server that you prefer to use, you don’t need to bother with this section. In my case, I’m going to configure Yahoo’s server for my outgoing mail.
In the Account Settings window, select Outgoing Server (SMTP) in the lower-left corner. Choose the Webmail – localhost Outgoing Server, and click Edit.
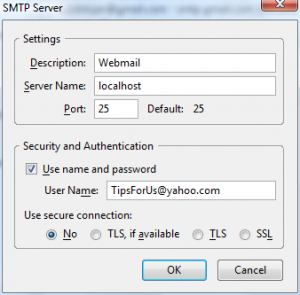
In the window that spawns, be sure that the Server Name is set to localhost, and that the User Name includes your full e-mail address. Do not use any secure connections. You can change the Description to anything you want.
Back on the Account Settings page, select your account in the left pane, and be sure that the appropriate Outgoing Server is selected.
Test and Retest
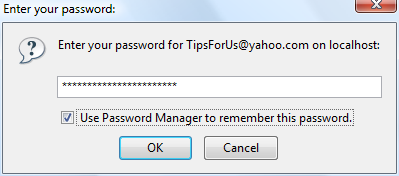
Give it a shot. At this point you should try clicking Get Mail to see if it works. It should prompt you for your password.
If it works, congratulations! If it does not, don’t fret! There may be a few more options to try.
I cannot comment on every e-mail service, but for Yahoo!, you may need to specify the Mode. Take note of whether your Yahoo! Mail account is currently using the new AJAX-driven interface or the older Classic style. Within Thunderbird, go back to the Tools -> Add-ons screen. Select the Yahoo add-on and click Options.
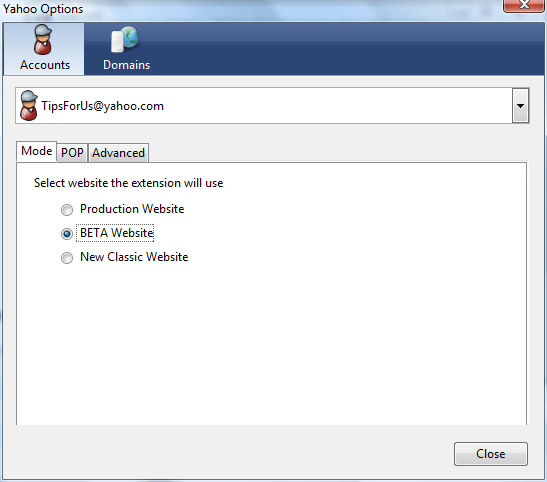
From here you can manipulate the Mode for your Yahoo! account. If your account has the newer interface, try choosing the BETA Website option. If your account still uses the older Classic style, select the mode for the Classic Website.
Now try clicking Get Mail again. With any luck, you should have Yahoo! e-mail in Thunderbird now!

Other Options
Depending on how much mail you have on the server, it may take a substantial amount of time for all the e-mail to arrive. If this is the case, I suggest increasing the amount of time that passes before the connection has a timeout.
To do this, go to Tools -> Options -> Click the Advanced tab -> then click Network and Disk Space.
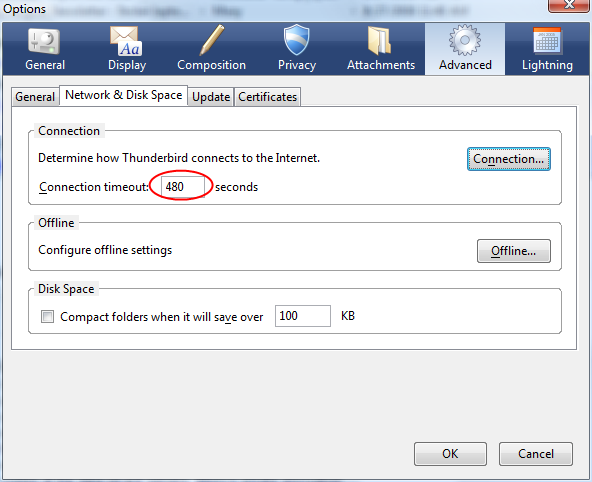
In the box next to Connection timeout, increase the number of seconds to an amount of your choosing.
One last thing: by default, the WebMail extension is set to leave messages on the server (unless you delete them). If you want WebMail to automatically delete messages on the server once you download them into Thunderbird, you can set this in the Account Settings window.
Simply click on Server Settings (beneath your account name), then look for the Leave messages on server option. Toggle it accordingly.
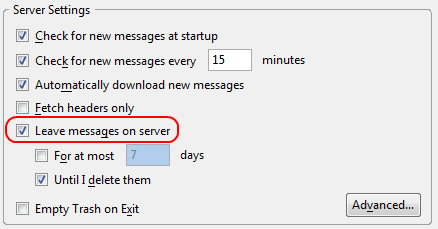
I prefer to leave my messages on the server. With supposedly unlimited space from Yahoo, it just makes sense.
There you have it – free POP access to Yahoo! Mail. With slight modifications, these instructions apply to the other e-mail providers as well. All you have to do is download and install the appropriate component.
In my humble opinion, Gmail is still the best free e-mail provider, but if you need POP access to other services, WebMail should have you covered.
Find this article useful? Please subscribe to our RSS feed to receive future updates!