Add Watermarks to Video for Free with MPEG Streamclip
November 11, 2008 - Reading time: 3 minutes
UPDATE: Looks like MPEG Streamclip is dead. Pity!
MPEG-Streamclip is a powerful FREE tool for working with video. Not only can it encode/convert between formats, it can also cut, trim, and join movies together. As an added bonus, it can also directly download videos from YouTube and Google Video.
These features alone are enough to make MPEG Streamclip an essential tool for both Windows and Mac users, but the program has another trick up its sleeve: it can also add watermarks to video. I’ll show you how.
Special note for Windows users: MPEG Streamclip requires either Quicktime OR Quicktime Alternative (but not both!). Please see their site for details.
Adding Watermarks
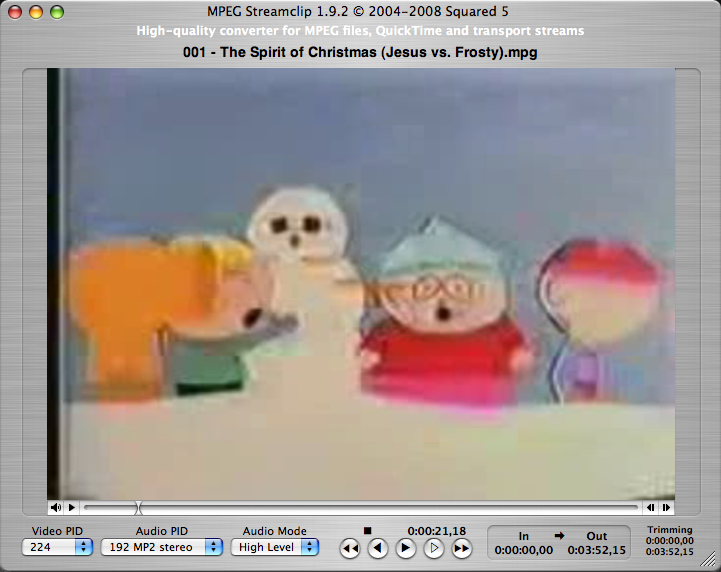
First of all, launch MPEG Streamclip and open the video to which you want to add a watermark. For kicks, I’m going to add a watermark to Jesus and Frosty, the first animated short by Matt and Trey (of Southpark fame).
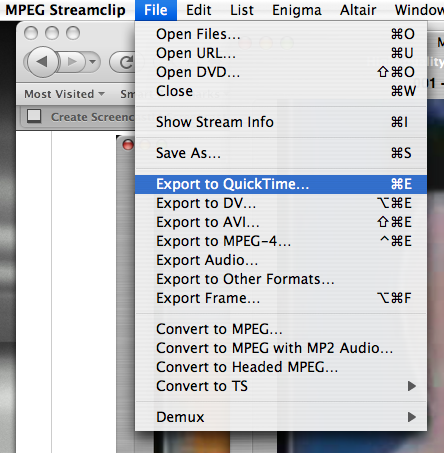
Next, go to the File menu and Export to your desired format.

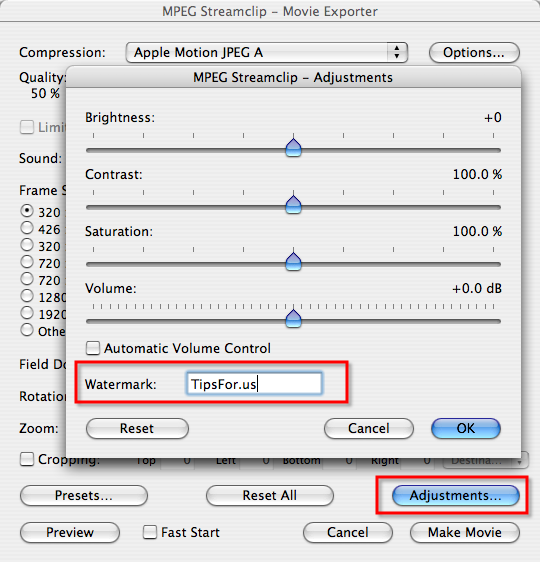
In the Exporter window that spawns, don’t be intimidated by the multitude of options in front of you. All you need to do is click the Adjustments button near the bottom-right.
Just type the text for the watermark and hit OK. Make any other adjustments to resolution or audio quality that you want, and press Make Movie when you’re finished.
Choose a place to save your newly watermarked video, and voila! Go get a cup of coffee while your video exports.
The watermark will show up near the bottom-right corner of your video. As of this writing, there is no way to alter the position of the watermark.

